
Both Levels and the more powerful Curves tools allow one to alter the pixel values of an image - but it does this for ALL pixels with the same values. If we wanted to selectively change some areas, but not others, we would have to use Layer Masks to mask out the areas we did not want to be changed. This may not be easy, and can be time consuming, to mask out those bits exactly.
But lets see what happens if we use a Curve instead of a Channel blend on this image.
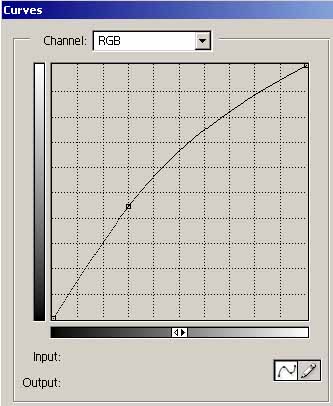
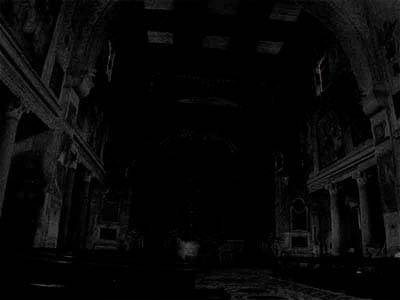
So if we do a gentle adjustment to lighten the (blue) walls
with this curve, then as well a lightening the dark parts of the image, we
also lighten the bright bits as well (the top half of the curve). If
we adjust the curve to bring the top half of it in line with 45% (i.e. no
change), then the contrast looks terrible - try it and see. So the
image will change to...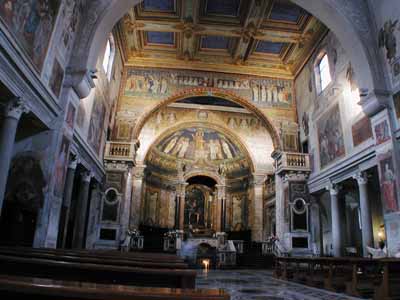 |
 |
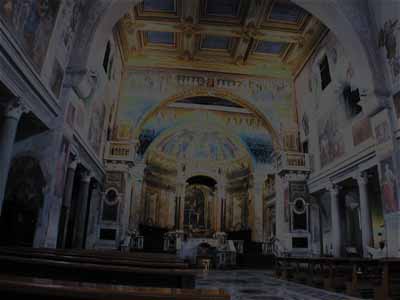
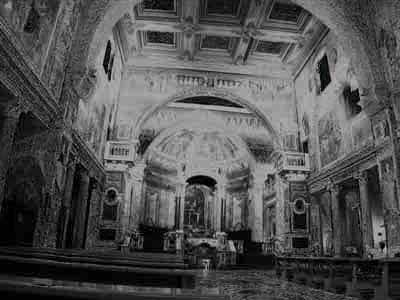
I've over done the adjustment to make the difference between these methods really apparent. It doesn't look too bad (at this small size) - but we have done lots of terrible things to this image! Let me show you...
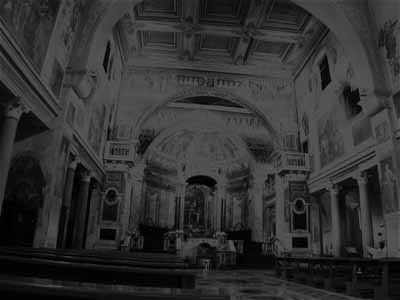
First one would probably have done the Curve on an Adjustment layer (so we could change our minds later). It would not have occurred to us to change the Blend mode, of that layer, and we would have just left it at Normal. Well these next two images show the differences made (using my SeeChanges action), and compare the Normal and Luminosity blend modes. Remember when looking at these exaggerated false images, that Black means no change and White or colour means a lot.
 |
 |
| Normal blend mode: notice we have also changed colours! | and even without colour change, we lighten the altar area |
| The image opposite was the difference when Applying the Blue Channel as I originally described on the previous page. You will observe that, as well as changing the walls, we also altered little bits of the rest of the image - but considerably less than the Curve adjustment. But the main point is that most of the change has happened on the wall, and lesser changes on the rest of the image - this is a vital point I'll come back to later. |
|
|
The walls are grey(-ish) because both methods changed them (but I used more curve than was necessary, which is why they are not black [=no change]) - but just look at the altar wall, there is a lot of change there.
|
|
Hopefully I've convinced you that although Curves, and Levels, are great tools, sometimes you can achieve results that would be impossible without using masks, just by a quick Channel blend. The downside of this technique is that you must be able to 'see' what is in the image - and that takes practise.
Another point, well worth mentioning, is that it is the ratio of the changes that you make, in either tone or colour, that will effect how the viewer perceives the image and thus how you can you can draw their eye to different areas and better tell your story - isn't post-processing fun!