
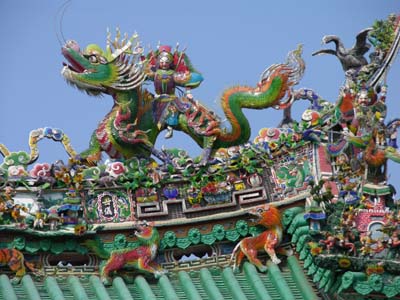
Man from Mars starting with a colourful image
Well we have seen what it can do on a dull image,
now how about changing...
 |
to | 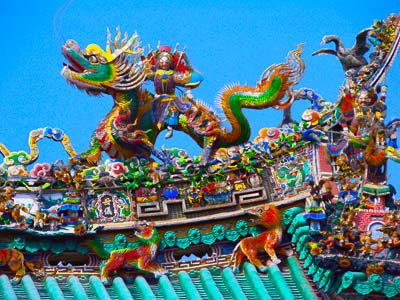 |
Well perhaps not quite that brilliant, but I have left it really saturated to demonstrate the effect.
I did a basic Lab Saturation, but toned down the
Magenta in the a channel as it peaked too quickly,
this gave me...
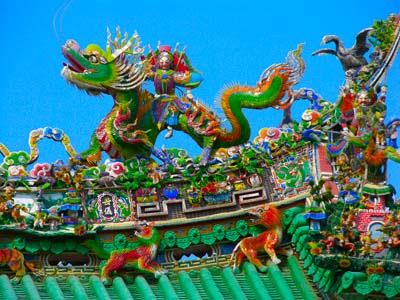 |
which is fully saturated, but there are no
colour explosions, so next I did the Man from Mars, using the pivot point
on the Dragon's tail.
It is difficult to see the differences in his neck and feathers, so I show close-ups, of bits, in the following work-flow diagram. Read it from left to right and spot all the other facts I've added to show you what I did. This was actually a very quick exercise when I was doing a comparison with the CurveMeister approach. I hope you find the following explains all - they say a picture is worth a thousand words, so there is nothing else to say! |
| So we start with left column of histograms showing the original image. Then in the middle column, I've shown the Lab Saturation histogram for the a and b channels. The last column is devoted to the Man from Mars changes. Underneath the 3 columns of histograms are samples of the image and the curves used to create them. Just see the difference between the 'Original detail' image in the first column with the 'Final detail' from the middle column - absolutely amazing - ditto the dragon head in the middle and last columns. |
|
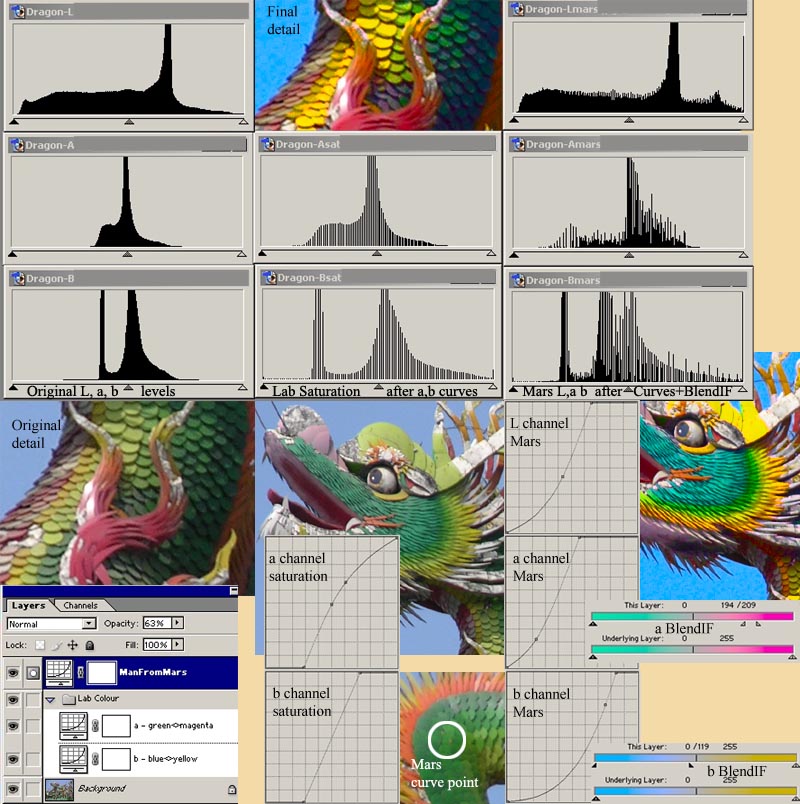
Oh, I will mention one thing - you will have noticed (in the layers screenshot) that the Lab Saturation was done in 2 layers, instead of the single layer that I've included in my Actions. This is to leave the option of just changing the Opacity of the a or b layer without having to change the curves! And I forgot to say that I needed a couple of BlendIFs to get the sky correct and tone down the reds.
I was truly amazed at this transformation as I had never thought to try this technique on a colourful image - but now I will !