
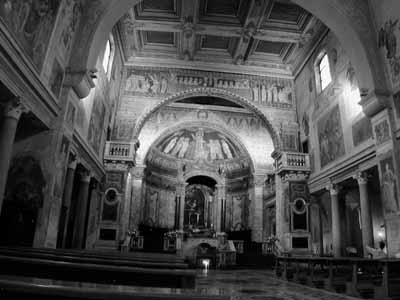
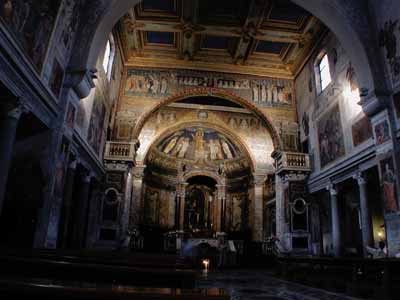
Now how to darken the walls...
The exaggerated view of the channels looked like this
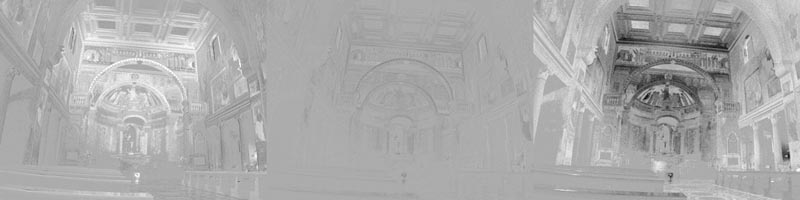
and we can see that in the Red channel, the walls are darker. The Green channel is no good at all, because everything is about the same.
| So we should be able to Apply the Red
channel, but in Darken mode to achieve the change. But when
we do, it will only give us a very slight darkening.
It is not worth showing you the image, but here is a much exaggerated rendition of the change - remember black means no change. Pretty hopeless isn't it, but one can see that something happened. So what is the answer? - what we need is a 'better' Red channel with much darker areas in the (blue) walls. We can do that by taking a copy of the channel and applying a curve to it! Compare (below) the original Red (on the left) and one I've curved.
|
|
 |
 |
|
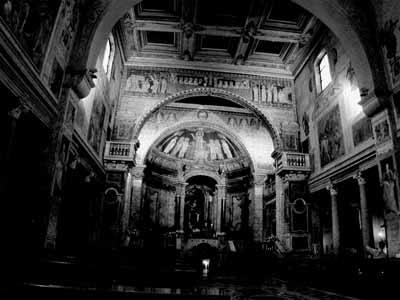
Now if we apply that Curved Red channel we will get the answer. Not knowing what I was doing (what new!), I over curved the copied Red channel and so I've reduced the Opacity of the layer to around 50%, otherwise the walls were just too dark. However the result is not very good because the pews and floor have also darken - which means I should have taken more care when I curved the copied Red channel to limit the changes mostly to the walls. I wasn't paying attention to the floor - Lesson learnt! I'll take more care in future.
|
|
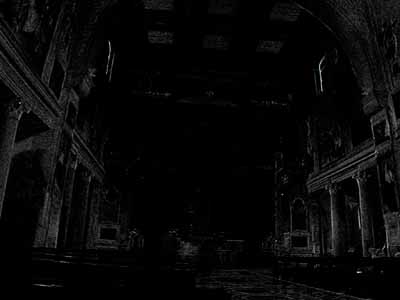
In this example, I curved the channel, but you can also use other techniques, such as gaussian blur, to achieve different effects.
In answering this question it occurred to me that you might not know what exactly the blend modes do and which are the most useful - so if you need more information in this critical area - then look at Blend Modes.