Cabbage Painting
![]()
![]()
![]()
![]()
![]()
![]()
![]()
![]()
![]()
![]()
|
Cabbage Painting
|
|
|
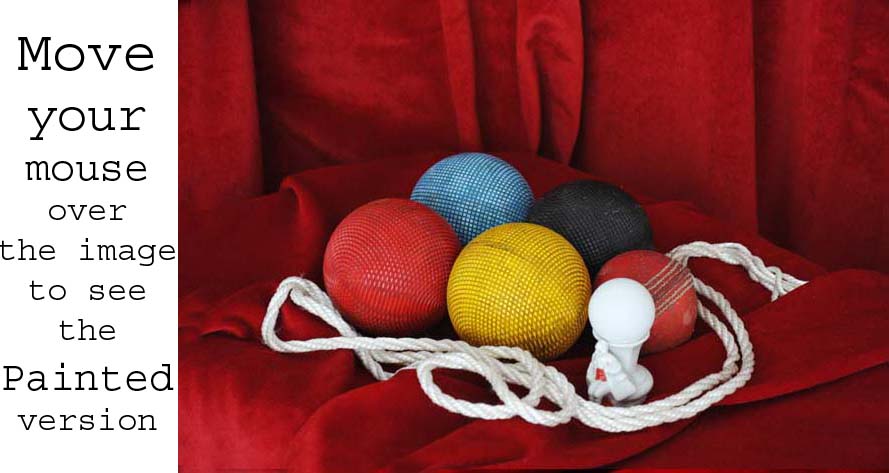
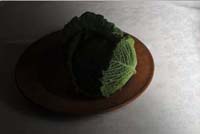
This page attempts to show how I painted a Cabbage to give you a taste (pun) of the power that painting with light gives a photographer. What is Light Painting?There are a number of different ways of painting with light - "Light Painting" or "Sculpturing with Light" - from a) outlining a subject, or drawing something, with a torch or laser, on a scene b) using a torch or flashgun as the only/main light source in a long, say 30 second, exposure or c) taking many exposures of the scene as one moves around lighting each part individually and then combining all the exposures together to create a final image. I paint using the last method. So one can imagine it as effectively lighting a scene with say 20+ small lights which are placed (direction, size, shape, intensity and hardness) to create the best illumination for each individual element in the image. Basically, in a darkened environment, I “paint” light onto my subjects in a thoughtful, controlled way. I use the angle, direction, hardness and movement of the light to enhance and reveal shape, dimension and texture. I then use Photoshop to select which parts (from each exposure) I want to use to contribute to the final picture and I can also vary the strength/opacity of these elements as they are added. Thus one can control the rendition of everything in the scene, rather than have to use normal (studio) lighting. This allows one enormous creativity control both during the painting and then when creating the final picture. It is a slow process, just like real painting, but the buzz one gets when creating a picture this way is fantastic. Whoa - this (probably) sounds a bit complex! The initial painting can be done with any light source and most good cameras allow manual settings for long exposures - you need a little practice, but it is not hard. But the second phase is maybe a bit OTT, especially if you do not have Photoshop, or Gimp etc. But... if you think about it, you are creating a set of selective HDR (High Dynamic Range) images; you decide how bright the light is by how close you hold the torch to the object and how fast you move it around as you paint. There are lots of free HDR programs you can use that will automatically combine the exposures for you. You loose a phase of creativity, but you still have a lot of control allowing you to effectively place and shape all of your lights. Some examplesI got hooked on the power of this technique when I tried it on some croquet balls; almost impossible to light them to get a good exposure for the black ball and the white ping pong ball, let alone the white string and background. This was one of my early experiments and I'm sure I could improve upon it now. You can see the difference from a normal (post-processed 2 light studio) shot to a painted version (using a small LED torch) by moving your mouse over the image (it can take a few seconds to initially appear).
I would accept the painted shot as a well lit image, but... what about using the technique to add a bit of atmosphere instead of a bounced flash photo? Again hover to see the change.
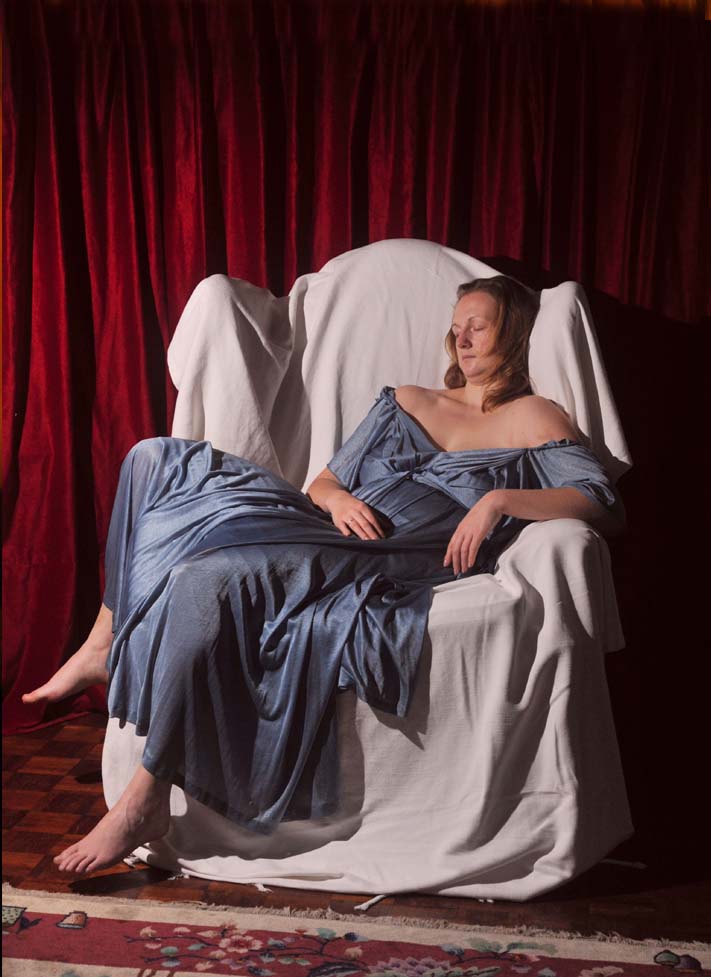
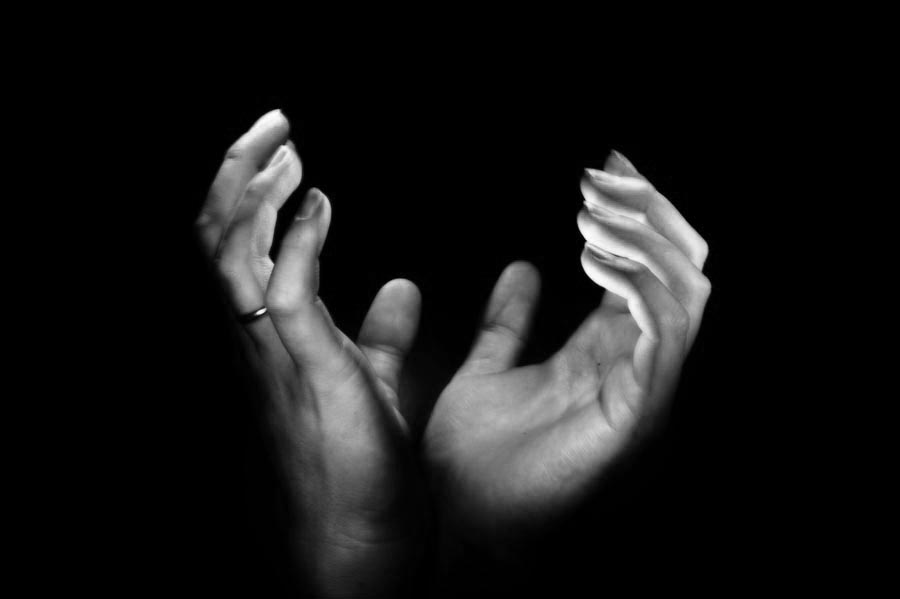
But will this work with people?
You may notice that by changing the direction of the light for particular elements, I have shown her cleavage and upper body in more relief as well as bringing out the folds in the dress. It is also easy to change the colour of different elements as they are on separate exposures! Incidentally the curtains have not moved, I've just lit them from different directions.
A bit more detail"The time has come," the Walrus said, [from Through the Looking-Glass and What Alice Found There, 1872 by Lewis Carroll]
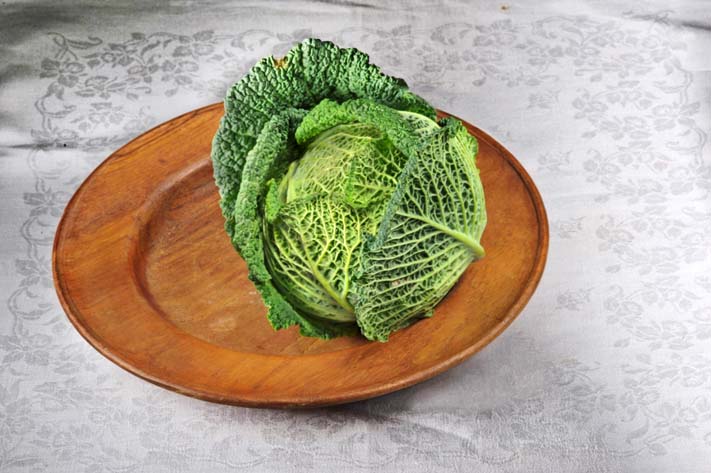
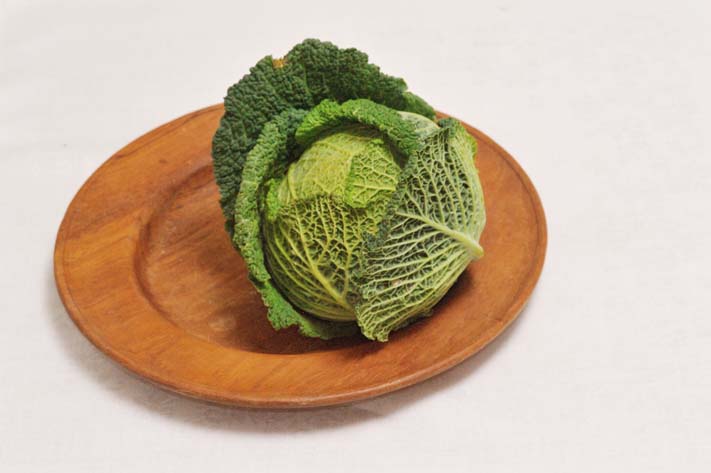
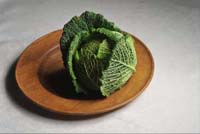
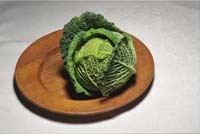
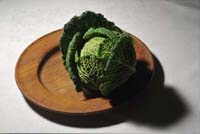
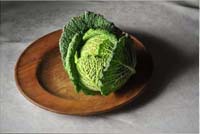
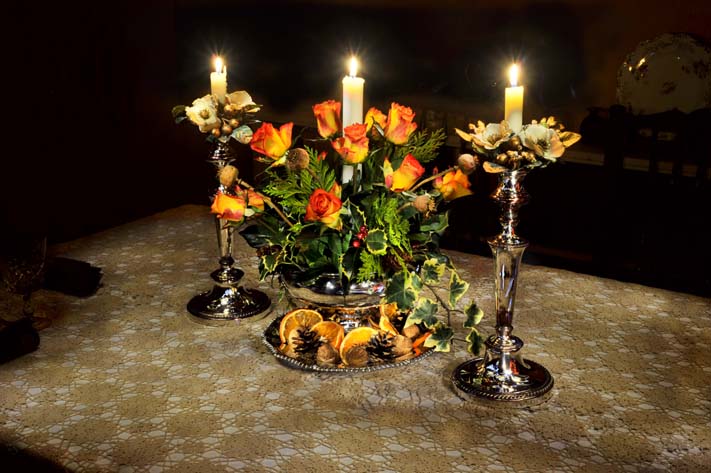
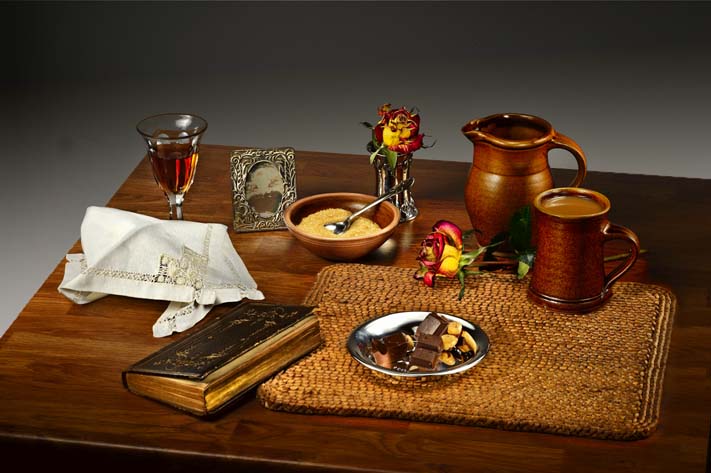
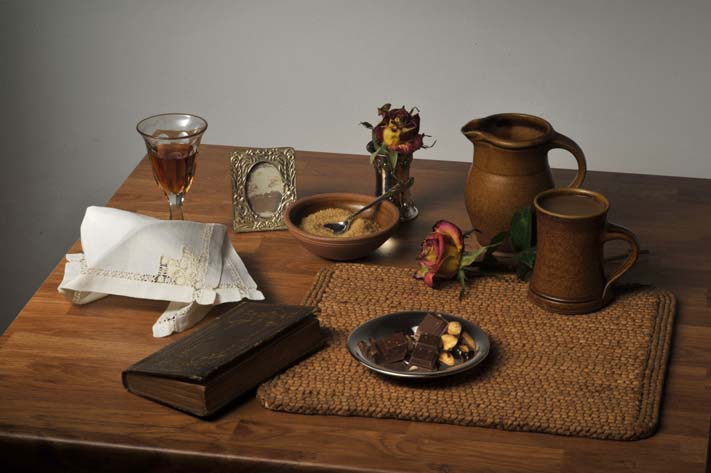
I just did 5 quick exposures to demonstrate the technique. I used a LED panel (rather than a small torch), that I snooted/adapted to cast a 12" pool of light. This is a pretty crude way to paint, but if I used a 1" light pool it would take around 40 shots to capture everything!
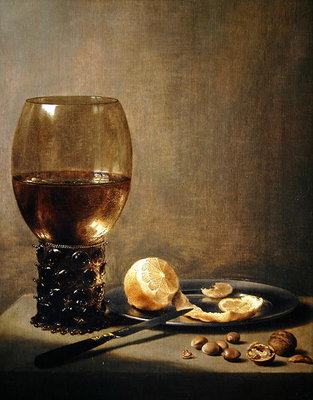
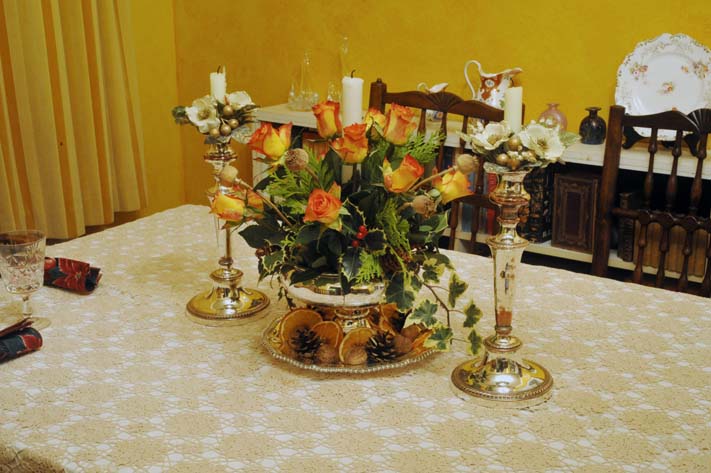
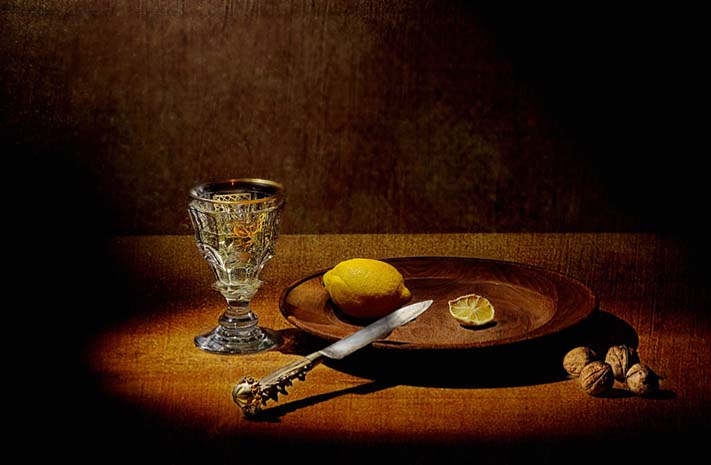
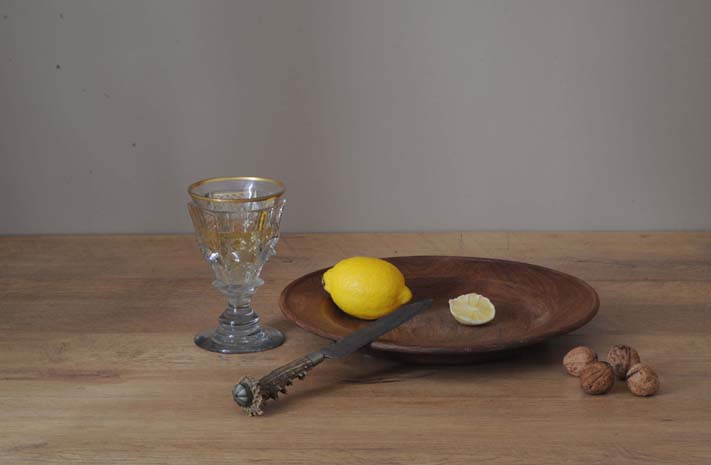
This is a more conventional still life example. It is the direction of the light on each object that really makes the difference as well as being able to maximize the tones of each object independently of the others.
I have got to end with this wee one liner... "I stayed up all night to see where the sun went. Then it dawned on me!" I think that sums up how I feel about Light Painting. It is such a simple obvious way to create photos and tailor them to what you want to show, rather than what the camera sees - I just don't understand why it never occurred to me in the first place.
I was very lucky that I chanced on Harold Ross's light painting which pointed me down this road - and maybe one day I will get somewhere near his beautiful levels of rendition. There is an excellent booklet on the techniques by James F Caldwell which you can download from here.
| |||||||||||||||||||||||||